Have you ever wanted to mock your friends’ social life through funny montages and memes? I know, me too. It’s a fine way to spend time. Well, here is the good news: it’s pretty damn easy. Most people are often repulsive to this because, I quote:
Using Photoshop is too hard
— Individual who only plays as Master Yi on League of Legends
But believe me, it’s not. That’s why I’m starting this small course on how to make montages. I want to throw into their lazy faces how simple it is.
In this Part 0, I’ll be showing you the very basic tools and interface of Photoshop needed for making Montages. If you are already familiar with Photoshop, you may skip to Part 1. Otherwise, let’s get dirty.

BASIC INTERFACE
Alright, let’s have a little tour, shall we?
Layers
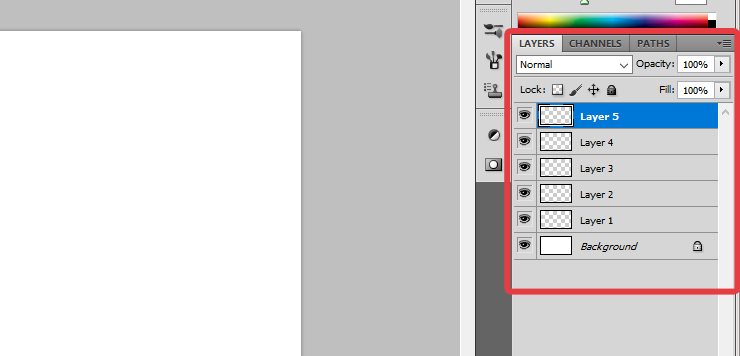
On the right, you guys can see the Layers. If you don’t see it on your screen, go to Window > Layers.
This is definitely one of the most important aspects of Photosop. You HAVE to understand how it works. Well, the name is pretty sugestive: they’re layers. Meaning one is on the top of the other. Say you draw a green line in Layer 2.
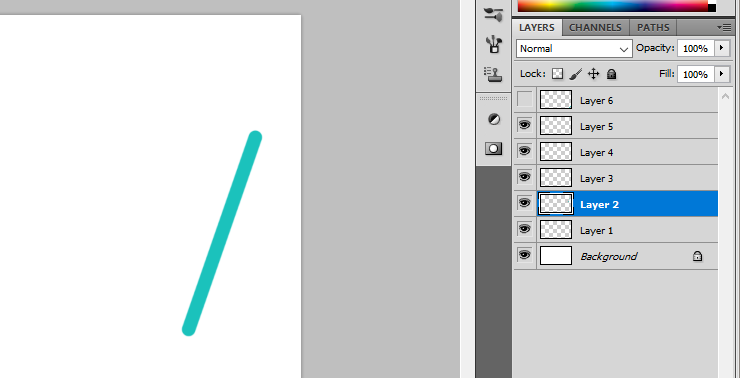
Now this is what happens if you draw on Layer 1
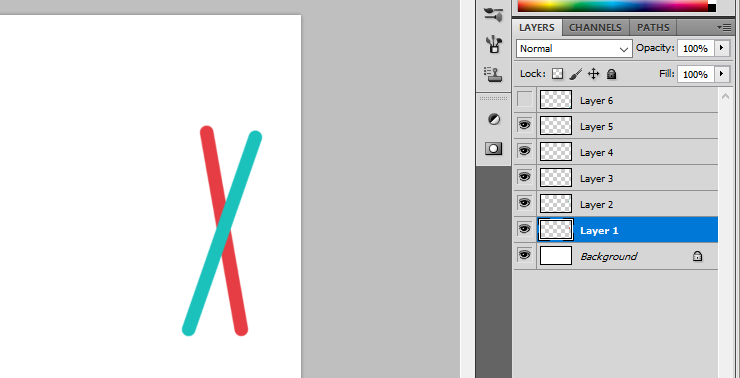
The Red Line (Layer 1) stays behind the Green Line (Layer 2), because Layer 2 is on top of Layer 1 on the Layers window. Pretty simple. You can also drag their positions around for whatever suits you.
Whatever you’re doing in one layer, won’t affect the others. If you use the Eraser tool, for example, it will only erase the selected/active layer, but not the others.
You can create and delete Layers there. Also, you can separate them into groups, these folders, to keep things organized.

And that’s that for layers. Yes. Really. I’m telling you, it’s simple.
Adjustments
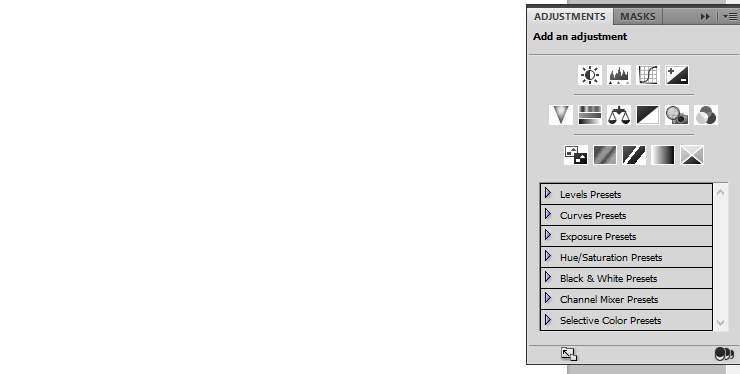
There is a chance you won’t have this Adjustments window in your screen. Just go to Window > Adjustments.
Lots of magic happens here. This is pretty much where you can fix a picture’s color, contrast, brightness, vibrance, exposure, saturation, and so on. Get a picture from your computer and start playing with these Adjustments. You will see how dynamic they are.
Also, you can open these Adjusments in the same bar where you create a new Layer.

Liquify (Filter)
Wonder how they make those Photoshop changes where girls get bigger butts and boys stronger muscles? Liquify is the perfect filter to do that. Press Ctrl + Shift + X, or go to Filter > Liquify. The filter will only apply to the selected Layer.
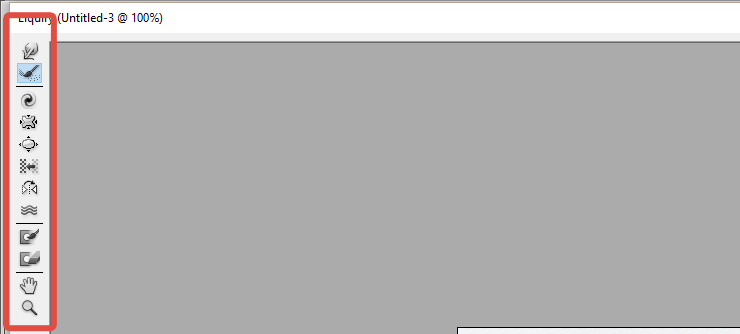
There are many different Liquify tools to use. Try them yourself, it’s pretty easy and fun.

TOOLS
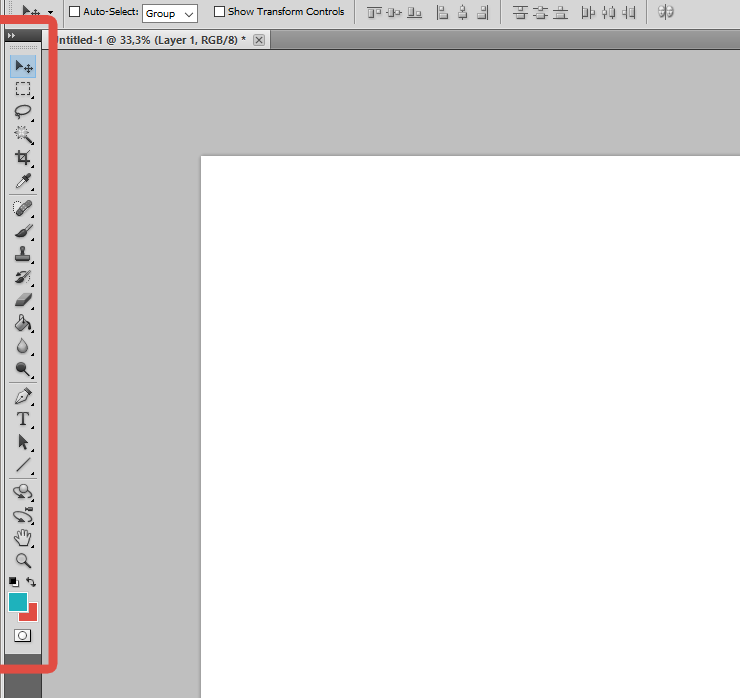
On the left side, you have your Tools. Pretty much everything you need to create, erase and edit your image is there. Let’s go over the ones we’re going to use most:
Lasso Tool 
This is the most simple way of making free selections yourself. Just drag it around and, when you release it, you will see a dashed line. That means that area (from the active Layer only) is selected.
Magic Wand Tool 
Easy to use and saves you a lot of time that should be painful hand-work. If you have asthma, get you Inhaler and watchout for what I’m about to say. This is how this tool works: click in the area you wish to select, and the tool selects it. :O :O I know right? Of course, it’s not perfect, and if you want more detailed/polished results, this tool isn’t what you need. However, you will still use it loads of times. If you get a picture from the internet, however it has, say, a white background you wish to remove. Just use the Magic Wand Tool. It will select all the white, then just press Delete to erase it. You can also change the Tolerance on the top, that way you have more control over what the tool will be selecting.
Spot Healing Brush Tool 
This is a VERY powerful tool from Photoshop. Basically, it blends the area you’re drawing on with whatever is around it. For example, say you have one nasty pimple in your forehead, and you want to erase it. What do you do? Spot Healing Brush Tool! Just draw on and around it a little and it’ll work better than Jovees Anti Acne And Pimple Cream. You want to make yourself Slenderman-like? Little by little use this tool, first on one eye, then the other, then your nose, your mouth and Ta-daaaa. You’re a freak!
Clone Stamp Tool 
This is one of the tools you will have to use most, and probably my favorite tool on Photoshop. First you hold Alt and click somewhere in your image. Now, when you use this tool, it “stamps” that section of your image into the place you’re drawing on. That way, you can easily replace textures, patterns and materials. Example, you have a picture of a beach. However, there’s a ball in the sand that you want to get rid of. You can’t draw sand over the ball with a brush, and the Spot Healing Brush really won’t be able to do anything here. Just use the Clone Stamp Tool. Hold Alt and click where there is sand. Now when you draw over the ball, you will see that it will cover it perfectly. If you understand how to use this tool, the results are astonishingly realistc.
Pen Tool 
Last tool I’m going to be covering here. I’m not going over the primary function of this tool, or into great detail, as I am focusing on making montages. The reason why we are going to be using this is for making selections. Yes, you have the Lasso Tool. However, using the Pen Tool creates selections with higher precision and quality. Just make sure that you have the option Paths on (on the top).
![]()
When you’re done covering the area you wish to select, just right click over the shape you created and click on “Make Selection”.
CONCLUSION
If you read through the whole thing, you’re really 60% ready to start making your montages. Now you depend only on practice. Next time I’ll get dirty and show you how to apply all of this.
Also, I’m going to go into detail to each of these tools when I make the montages. For now, try them yourself and see what happens. Play around with them, I’m sure you’ll see how easy it is to use them and the powerful results they create.
That’s that for now, see you next time!